


Adresse
1 rue de Saint-Petersbourg75008 Paris
Mail
contact@bam.techTéléphone
+33 (0)1 53 24 00 83OpenAPI is a way to describe web services API. Basically, it allows to define API routes (with path, allowed parameters, HTTP verb...) and models (object models corresponding to API response or body and its components). All this information is contained in an OpenAPI specification written in YAML or JSON.
You may have heard about Swagger and its visible part Swagger UI. OpenAPI is simply the new name of Swagger after it has been transferred to the open-source community.
Since the OpenAPI specification contains everything needed to interact with the API, we can generate the code required to interact with the API based on this file. And since REST API often expose a large data model with dozens of entities, it's very tenting to generate them. For exemple, the Twitter API used in this article is composed of more than 180 entities that you would have to write by hand.
Fortunately, OpenAPI Generator can generate everything from the model classes to an entire Gradle module for your data layer!
Open API Generator can be integrated using a Gradle plugin, but during development, I recommend using the CLI client which is more convenient during the configuration of the project.
This is the part where there is no magic. If the backend is developed by a separate team, they should already give you a corresponding OpenAPI or Swagger specification as part of the webservice documentation.
The goal of this article is not to cover how to write an OpenAPI specification, so let's take an existing one!
As an example, we can get a public API specification from Twitter.
In a new directory, download the specification file:
++code>$ wget https://api.twitter.com/2/openapi.json
++/code>
Then, let’s generate some code based on this:
++code>$ openapi-generator generate -g kotlin -i openapi.json++/code>
The command ++code>generate++/code> indicates that you want to generate something based on the ++code>-i++/code> ++code>openapi.json++/code> file. The ++code>-g++/code> option indicates the generator you want to use.
Dozens of languages and platforms are supported such as ++code>swift5++/code>, ++code>typescript++/code>, ++code>python++/code>... You can see all supported generators with ++code>$ openapi-generator list++/code>.
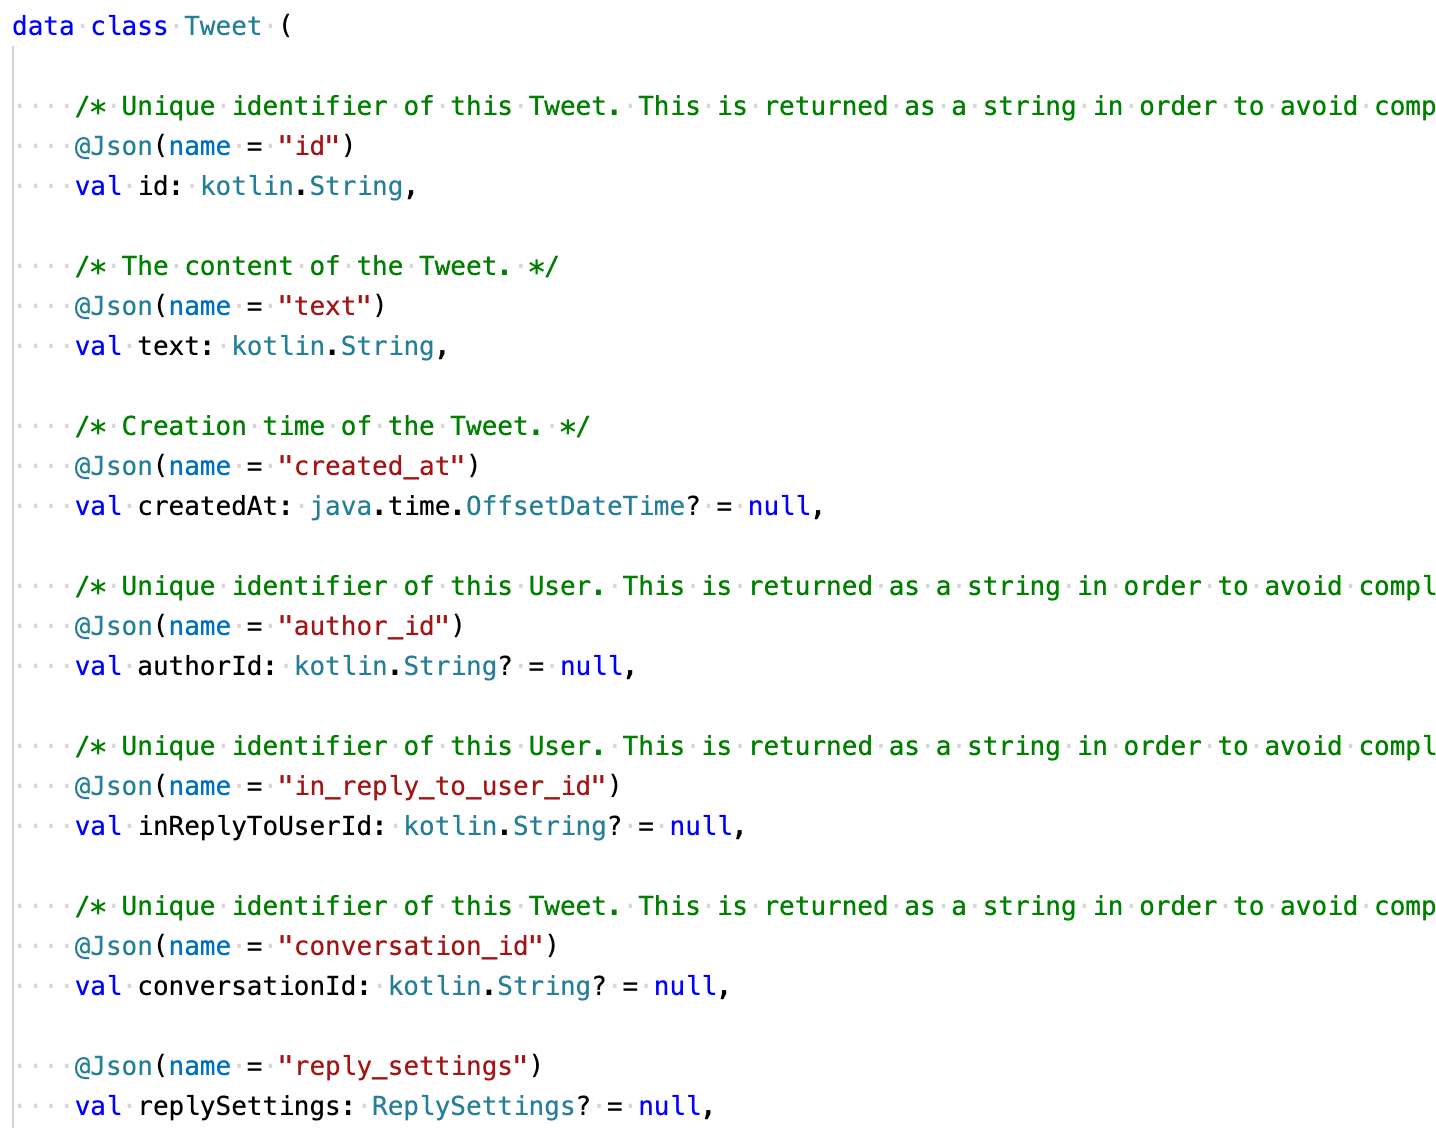
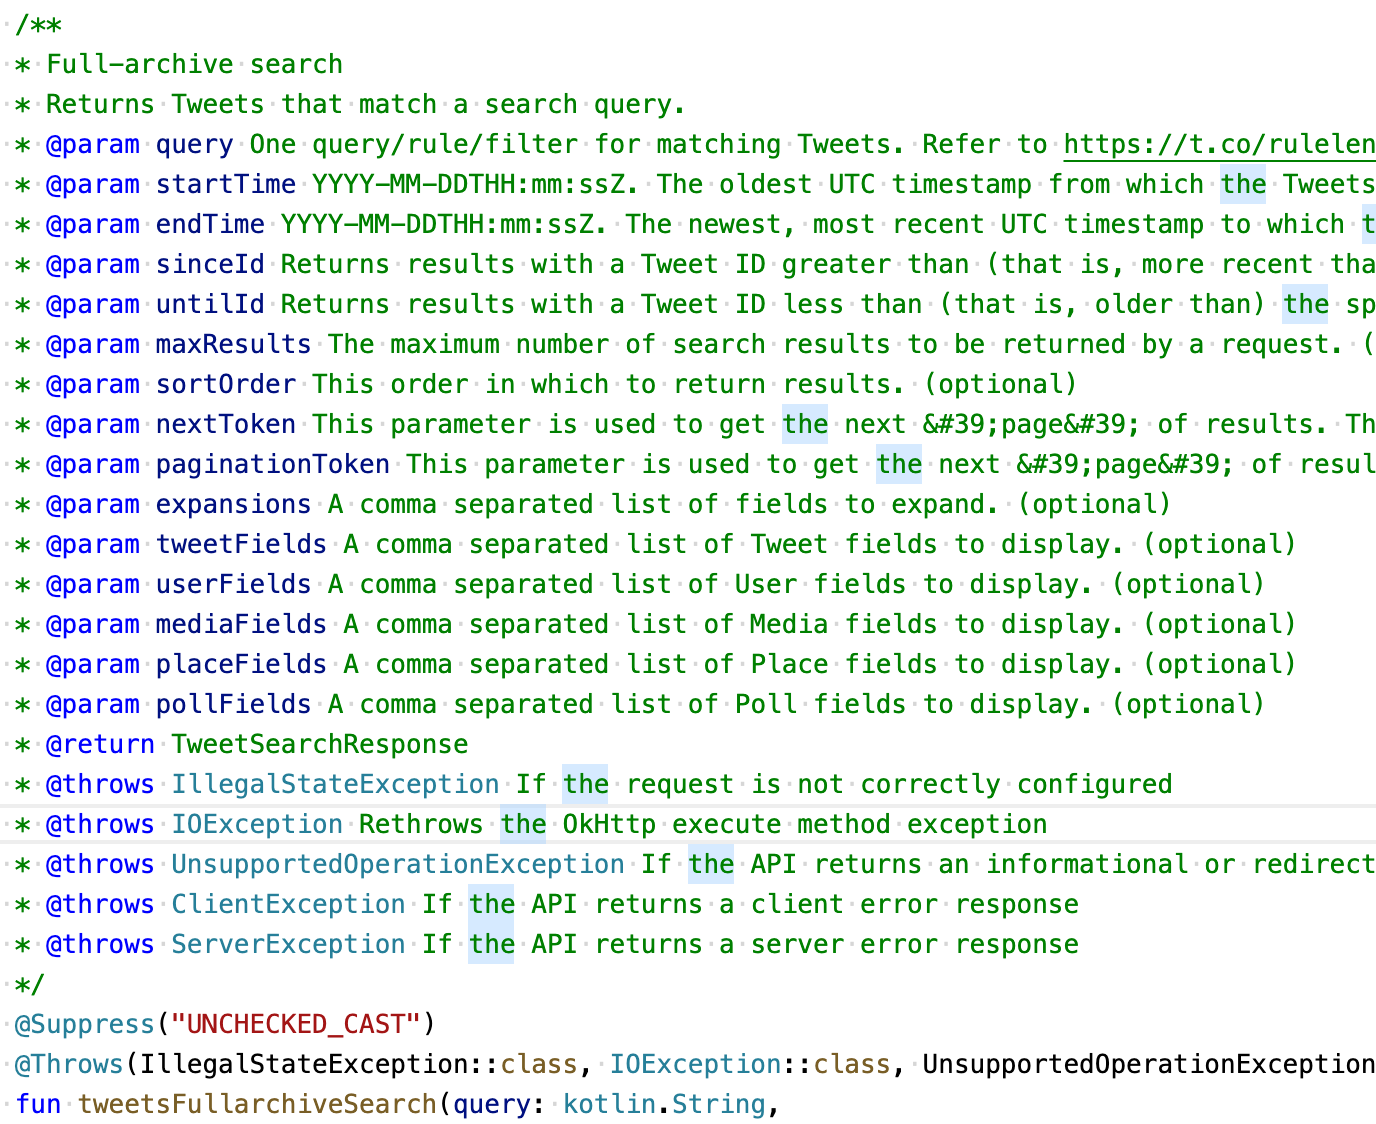
Run the command, and boom: An entire Kotlin SDK for Twitter has been generated!

There is now a complete standalone Gradle module with:
API documentation (Markdown) in ++code>docs
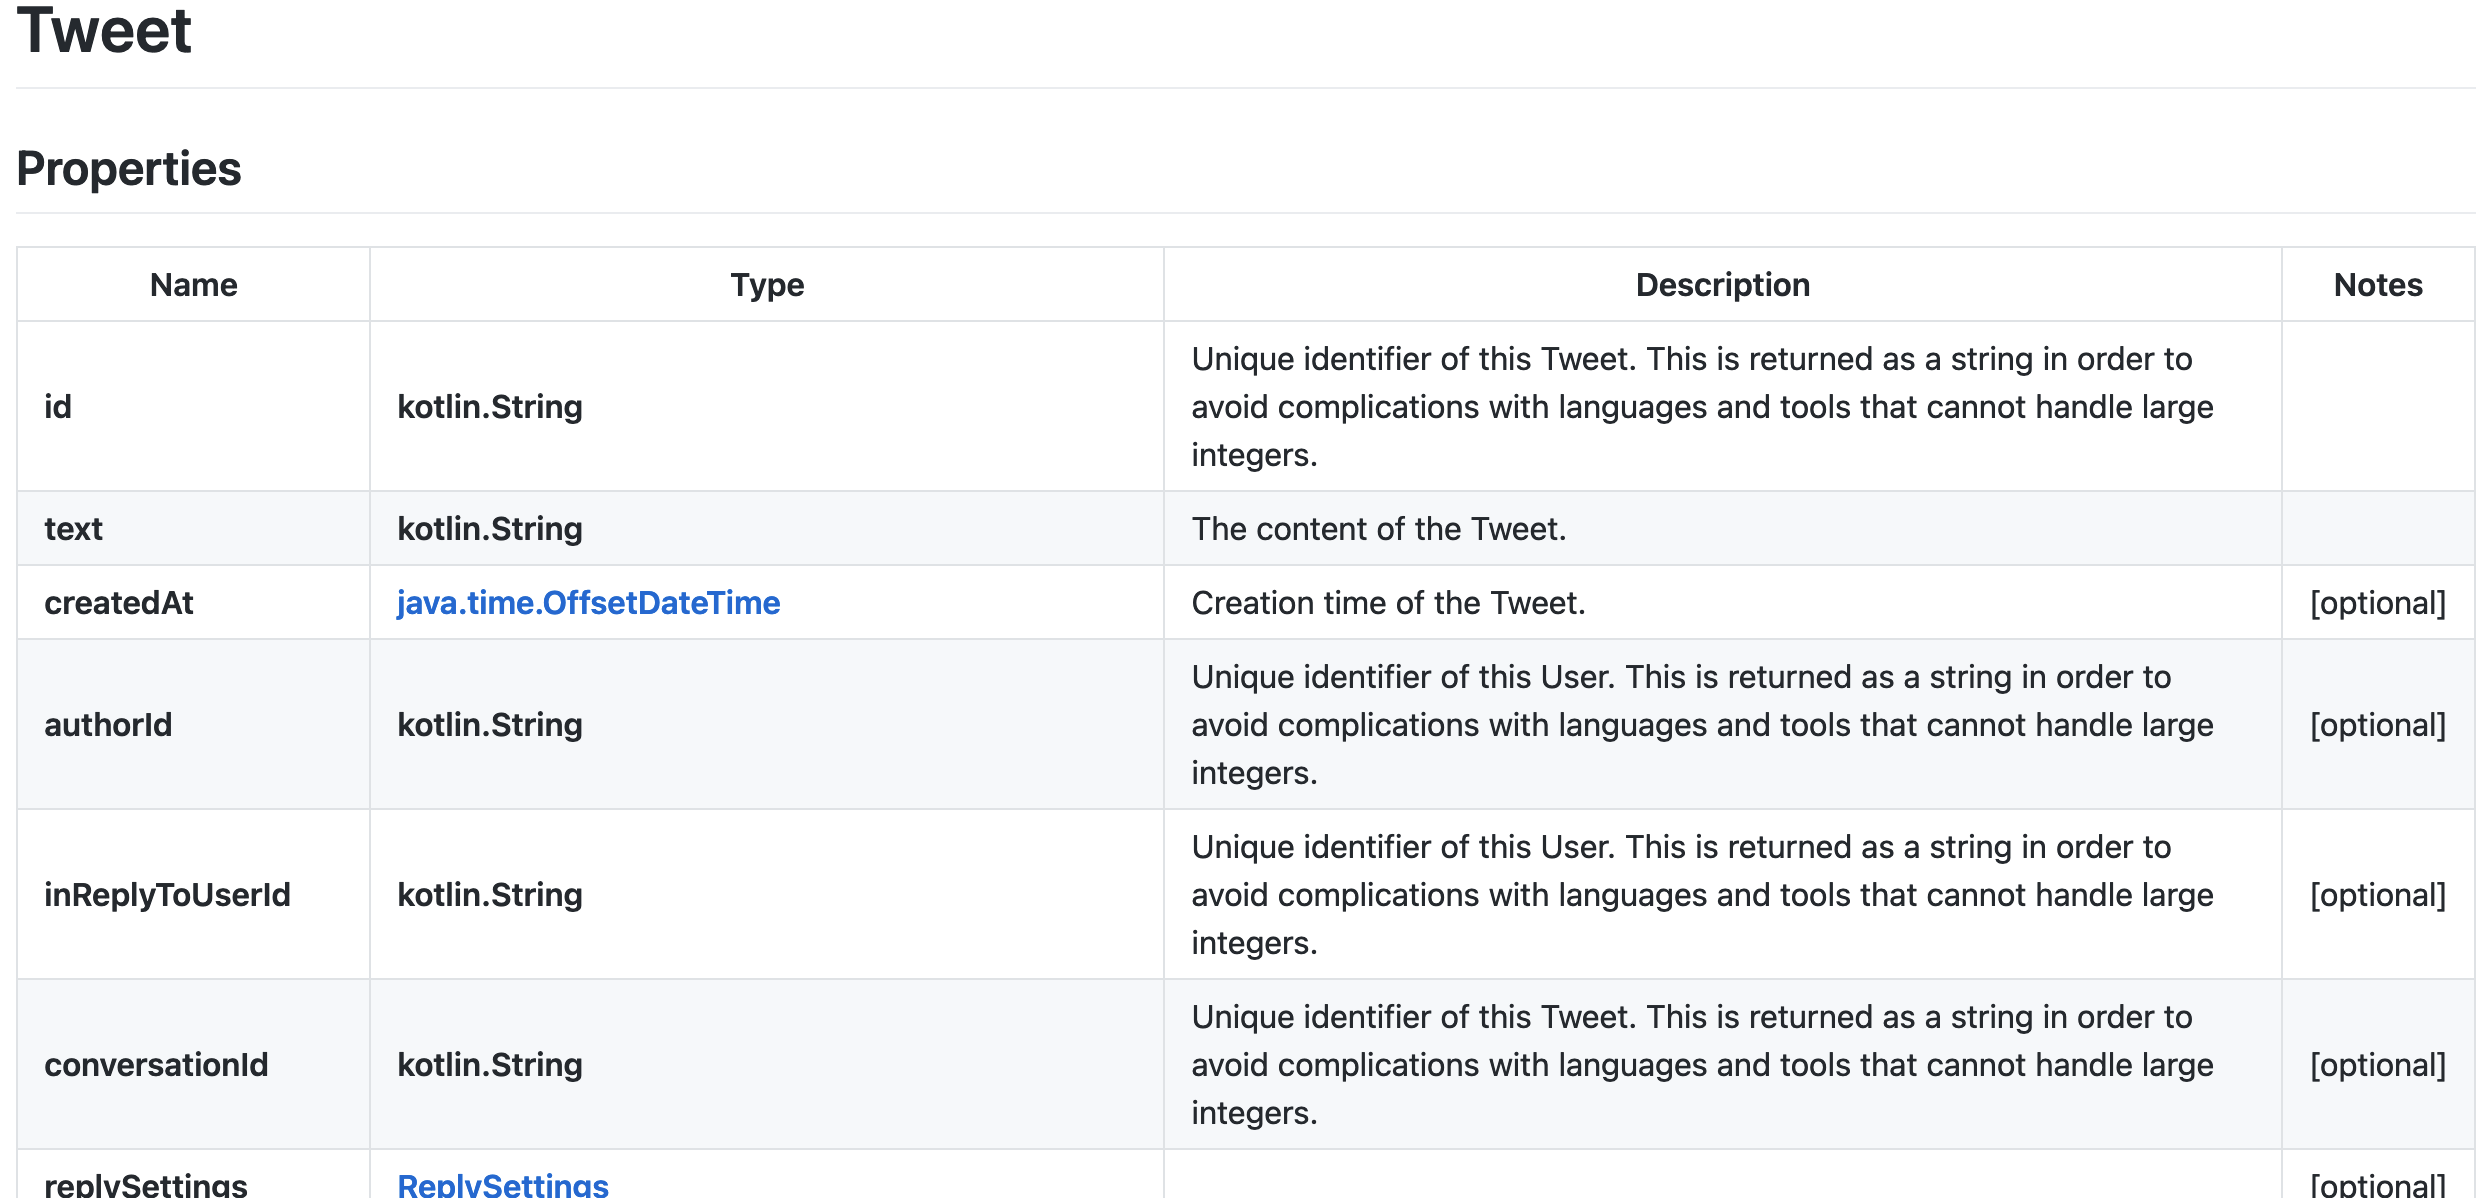
++/code>
++code>++/code>
Generating the whole module is a good starting point to see what’s available, but it may be difficult to integrate into your current architecture. For instance, you may already have a configured OkHttp instance to use, and want to use Retrofit. At the end, we may be only interested in generating the model classes and the API classes.
Use the ++code>--global-property models --global-property apis++/code> options to generate only these classes.
As an example, wouldn’t it be nice to put these classes directly into your ++code>app++/code> module? Let’s add more options:
++code>-o app++/code> will target this directory for the generated code
++code>--model-package "com.myapp.mydatalayer.entities"++/code> Allows control in which package the model classes are generated
++code>--api-package "com.myapp.mydatalayer.api" ++/code>will do the same for the API classes.
At this point we may not want to use Moshi as a parser. Want to use the fancy ++code>kotlinx.serialization++/code>? Add this option:
++code>--additional-properties=serializationLibrary=kotlinx_serialization++/code>
++code>gson++/code> and ++code>jackson++/code> are also supported.
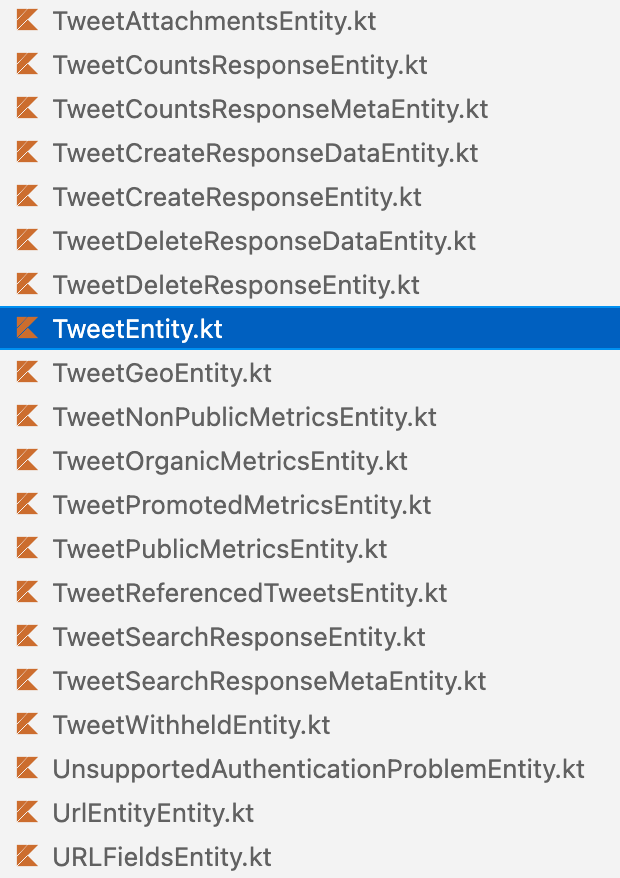
It is a good practice to identify at a glance if a model class is used in your data layer or your domain layer. Let’s add an ++code>Entity++/code> suffix to allow that!
++code>--model-name-suffix "Entity"++/code>
Now, all model classes end with this.
Now, we may want to use our good old friend Retrofit for the API.
Let’s add this to ++code>--additional-properties=library=jvm-retrofit2,...++/code>
To use Kotlin coroutines for the Retrofit interface: ++code>--additional-properties=useCoroutines=true,...++/code>
Note that ++code>additional-properties++/code> should be concatenated using ++code>,++/code>our final option looks like: ++code>--additional-properties=library=useCoroutines=true,jvm-retrofit2,serializationLibrary=kotlinx_serialization++/code>
If you tried to compile the module at the previous steps, you may have found that it, unfortunately, doesn’t compile 😭. As meta-programming is very powerful, it’s also a common pitfall you may encounter, so let’s try to fix this!
OpenAPI-generator works with templates written with the mustache template language. To access the templates used previously, use the ++code>author template++/code> command.
++code>$ openapi-generator author template -g kotlin -o template++/code>
You can then browse the template directory. Some interesting files:
The purpose of this is not to explain the mustache template language, but some fixes on the templates were necessary.
Finally, we want to be able to generate the file on demand without having to install the CLI client.
The OpenAPI Generator Gradle plugin make it possible!
After having setup the plugin,
Let’s convert the command line we’ve been methodically building to a set of option:
++pre>++code>openApiGenerate {
globalProperties = [
supportingFiles: "",
apis : "",
models : "",
]
inputSpec = "openapi.json"
generatorName = "kotlin"
outputDir = "$rootDir/app"
templateDir = "template"
modelPackage = "fr.haan.openapi_playground_app.data.entities"
apiPackage = "fr.haan.openapi_playground_app.data.api"
modelNameSuffix = "Entity"
additionalProperties = [
useCoroutines : "true",
library : "jvm-retrofit2",
serializationLibrary: "kotlinx_serialization",
sourceFolder : "src/main/java",
]
}
++/code>++/pre>
We can now generate using gradle CLI: ++code>$ ./gradlew openApiGenerate++/code>
That’s it! Our app is now ready to follow the backend REST API developments without having to manually write entities or interfaces!
As you can see, a lot of power comes from the spec being perfectly written (with strong types, accurate documentation, etc...) I guess the best way to achieve this is to also generate the server side using the same specification.
Anyway, I hope you enjoyed reading this! You will find the complete step-by-step repository with all the example code of this article here.


Le BAM Innovation Lab, pour rester à la pointe des dernières innovations tech et produit !


