


Adresse
1 rue de Saint-Petersbourg75008 Paris
Mail
contact@bam.techTéléphone
+33 (0)1 53 24 00 83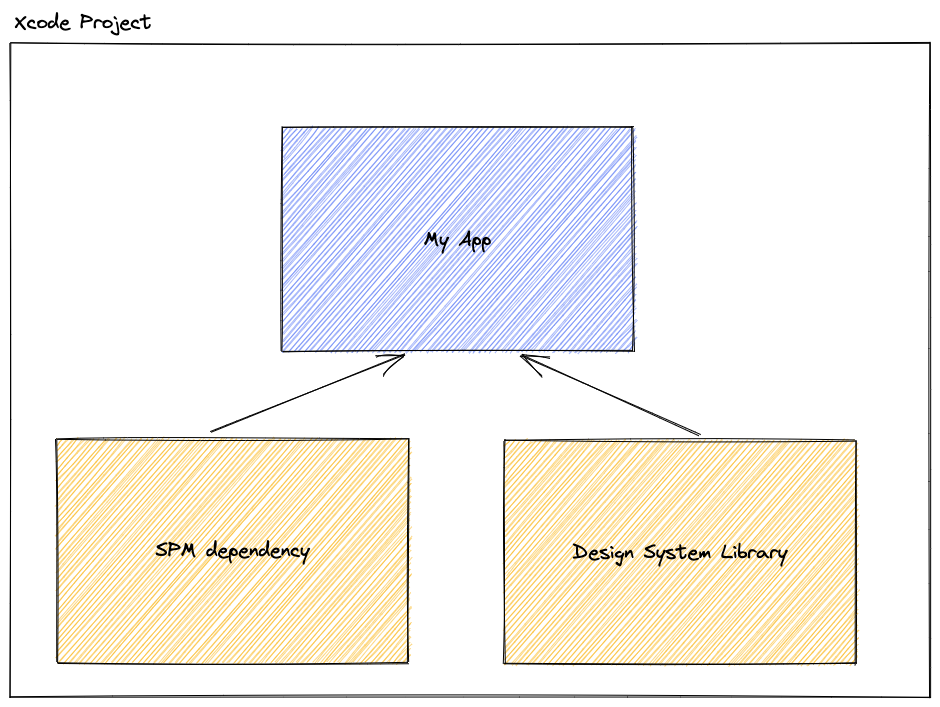
Follow the instruction in the official repository to install tuist on your machine https://github.com/tuist/tuist
Create a folder for your project and run tuist init --name MyExampleApp --template swiftui .Then run tuist edit . You could see the basic tuist project opened on Xcode now.
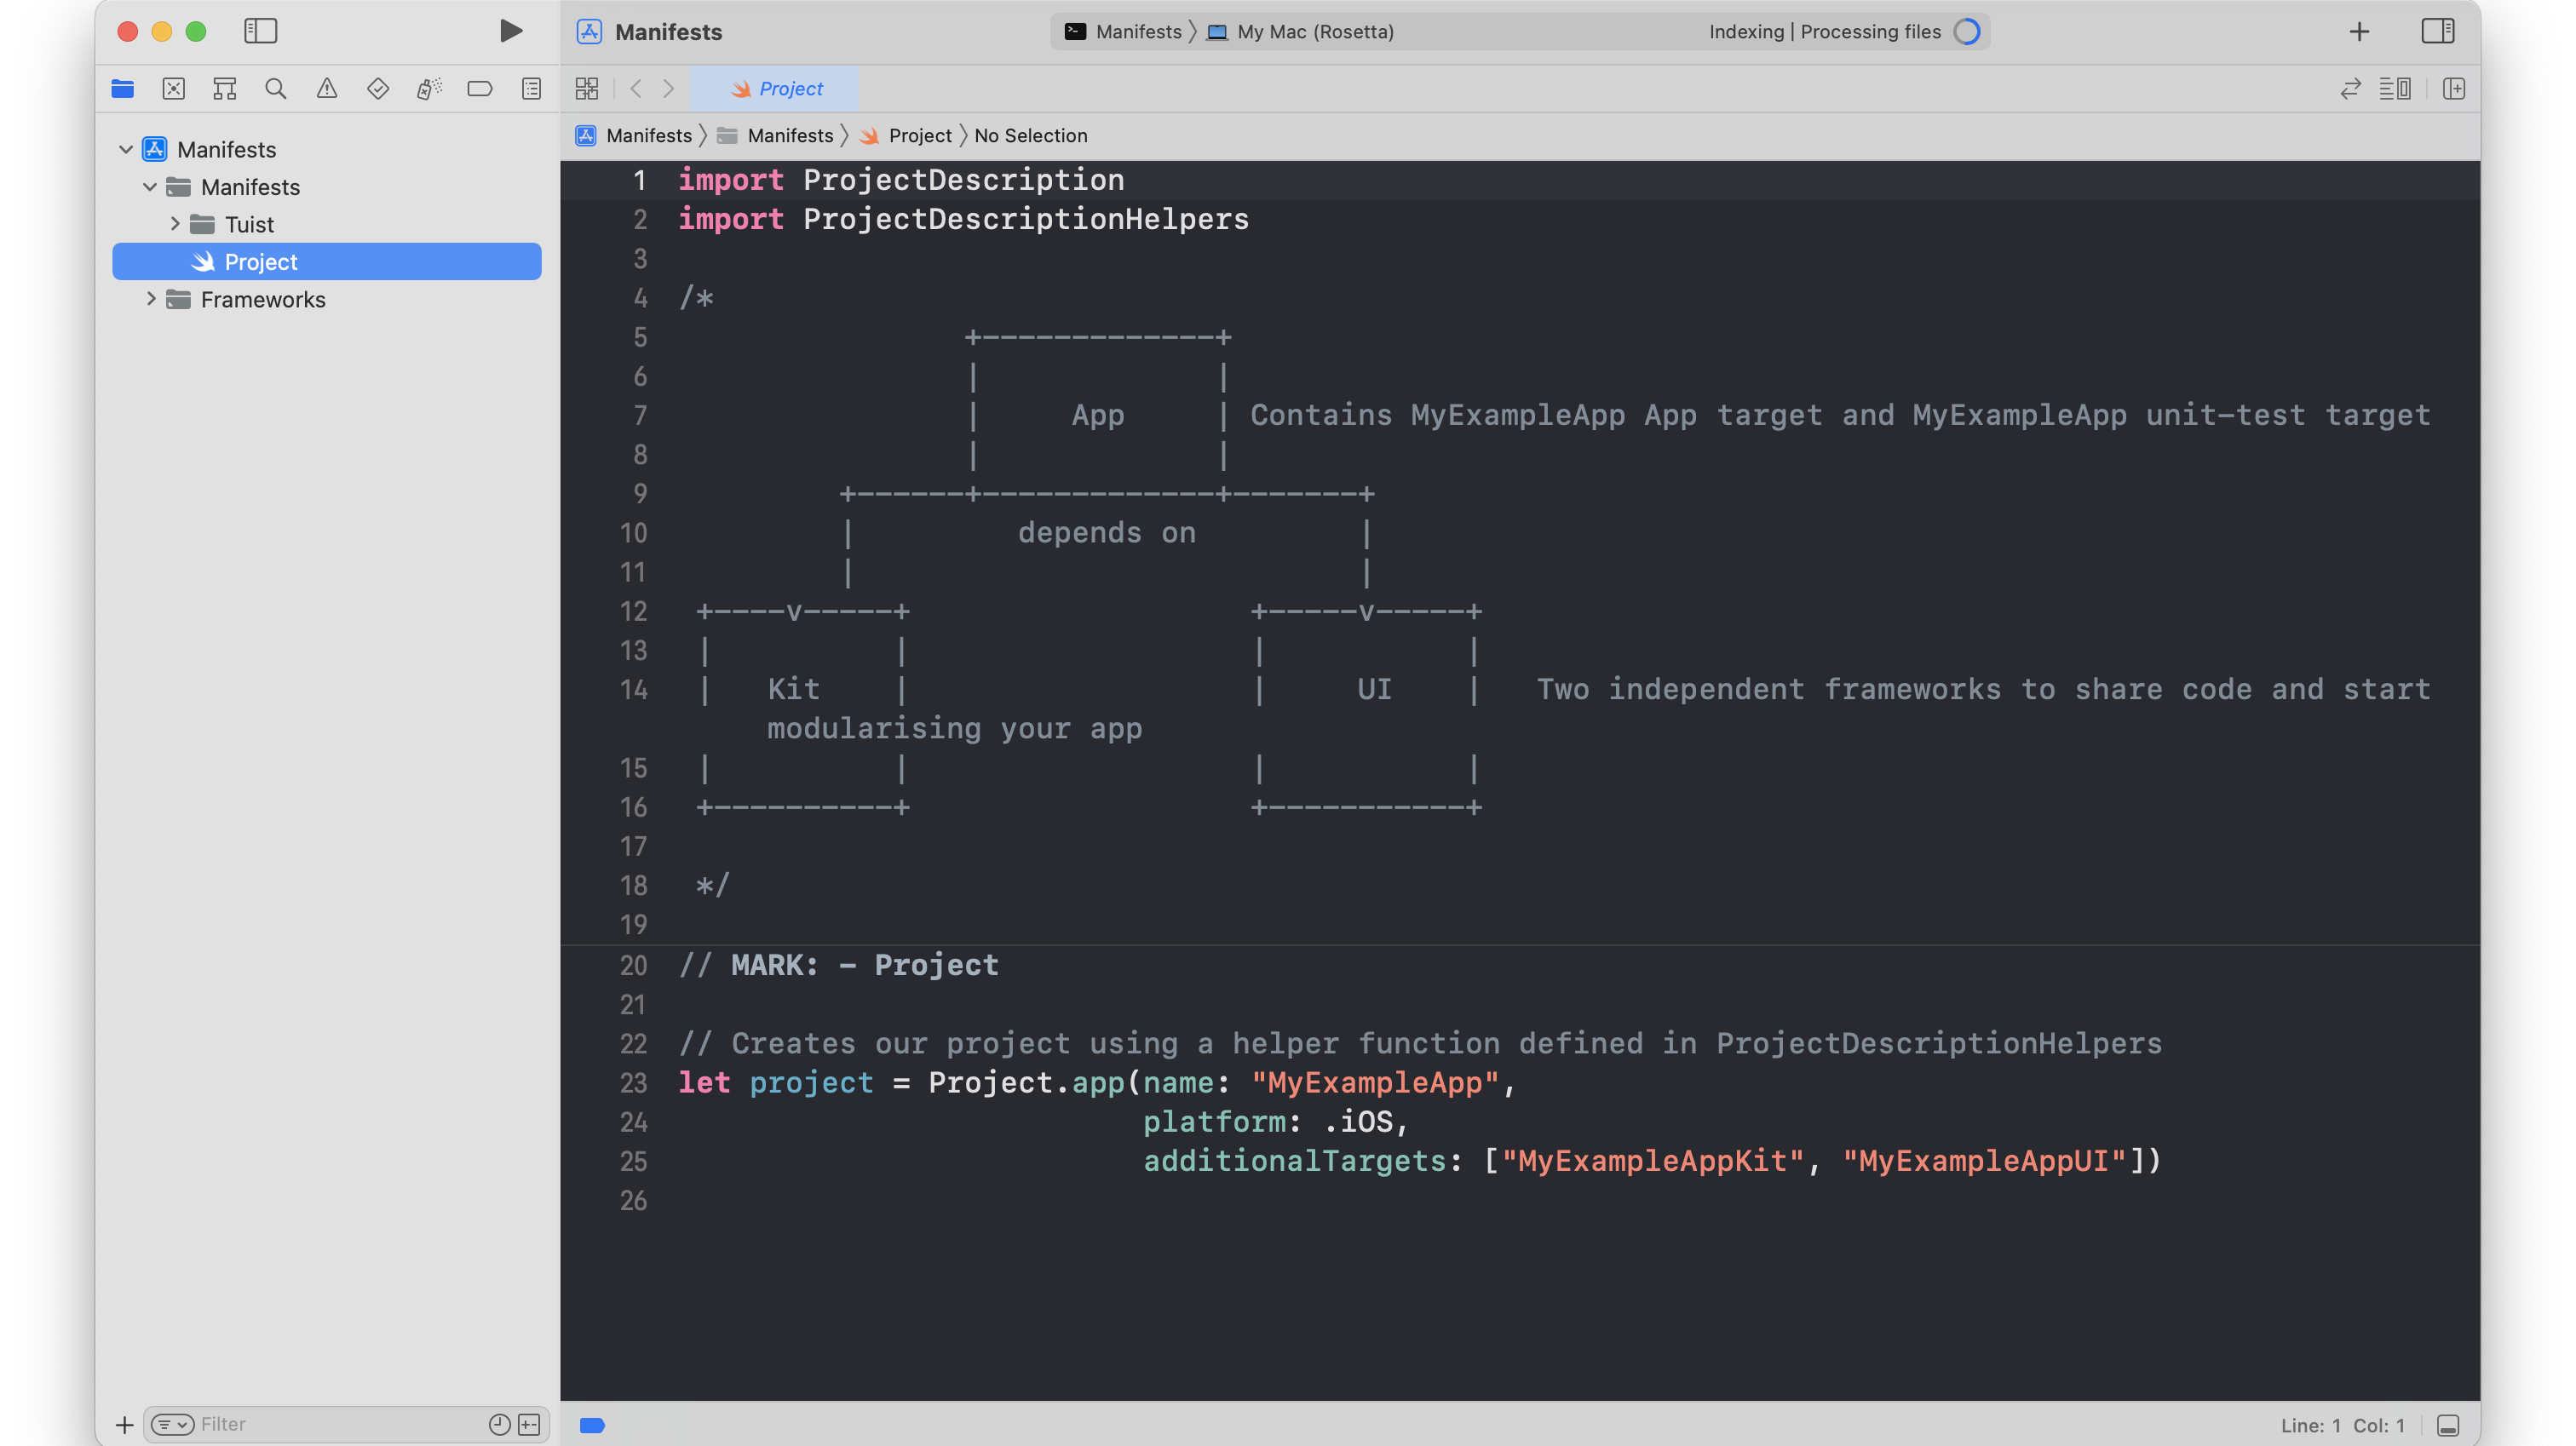
Congratulations, you got your fist app setting up with Tuist ! Now it’s time to customize it to fulfill the requirements.
In Manifests/Project.swift, we will create a project, add an app Target to it. This app will have some external dependencies (SwiftUIPager for instance) and also the Design system library as dependency.
++pre>++code class="language-swift">// Manifests/Project.swift
import ProjectDescription
import ProjectDescriptionHelpers
// Creates our project using a helper function defined in ProjectDescriptionHelpers
let project = Project(
name: "ExampleProject",
organizationName: "MyOrg",
targets: [
Target(
name: "MyExampleApp",
platform: .iOS,
product: .app,
bundleId: "$(PRODUCT_BUNDLE_IDENTIFIER)",
deploymentTarget: .iOS(targetVersion: "15.0", devices: .iphone),
infoPlist: InfoPlist.dictionary([
"CFBundleName": "$(APP_NAME)",
"CFBundleVersion": "1",
"CFBundleShortVersionString": "0.0.1",
"CFBundleIdentifier": "$(PRODUCT_BUNDLE_IDENTIFIER)",
"CFBundleExecutable": "$(EXECUTABLE_NAME)",
"CFBundlePackageType": "$(PRODUCT_BUNDLE_PACKAGE_TYPE)",
]),
sources: ["Targets/MyExampleApp/Sources/**"],
resources: ["Targets/MyExampleApp/Resources/**"],
dependencies: [
.project(
target: "MyDesignSystem",
path: .relativeToManifest("Projects/MyDesignSystem")
),
.external(name: "Alamofire"),
]
),
Target(
name: "MyExampleAppUnitTests",
platform: .iOS,
product: .unitTests,
bundleId: "com.myexampleapp.unittests",
infoPlist: .default,
// To uncomment later on
sources: ["Targets/MyExampleApp/Tests/**"],
dependencies: [.target(name: "MyExampleApp")]
),
]
)
++/pre>++/code>
So here we are missing two things to complete this step :
++pre>++code class="language-swift">// Tuist/Dependencies.swift
import ProjectDescription
let dependencies = Dependencies(
/*carthage: [
.github(path: "Alamofire/Alamofire", requirement: .exact("5.0.4")),
],*/
swiftPackageManager: SwiftPackageManagerDependencies([
.remote(url: "https://github.com/Alamofire/Alamofire.git", requirement: .exact("5.6.1")),
]),
platforms: [.iOS]
)++/pre>++/code>
2. We need to create our Design System Library. It is going to also be a dedicated project, which will contain one target which is the design system library itself we want to build:
++pre>++code class="language-swift">// Manifest/Projects/MyDesignSystem/Project.swift
import ProjectDescription
import ProjectDescriptionHelpers
let project = Project(
name: "DesignSystem",
organizationName: "MyOrg",
options: Project
.Options
.options(),
targets: [Target(
name: "MyDesignSystem",
platform: .iOS,
product: .framework,
bundleId: "com.mydesignsystem",
deploymentTarget: .iOS(targetVersion: "15.0", devices: [.iphone]),
// To uncomment later on
// sources: .paths(["Sources/**"]),
// resources: ["Resources/**"],
dependencies: []
)]
)++/pre>++/code>
Once this is done, we need last one thing to set this up :
++pre>++code class="language-swift">// Projects/MyDesignSystem/Sources/HelloWorld.swift
public let foo = "hello world"
++/pre>++/code>
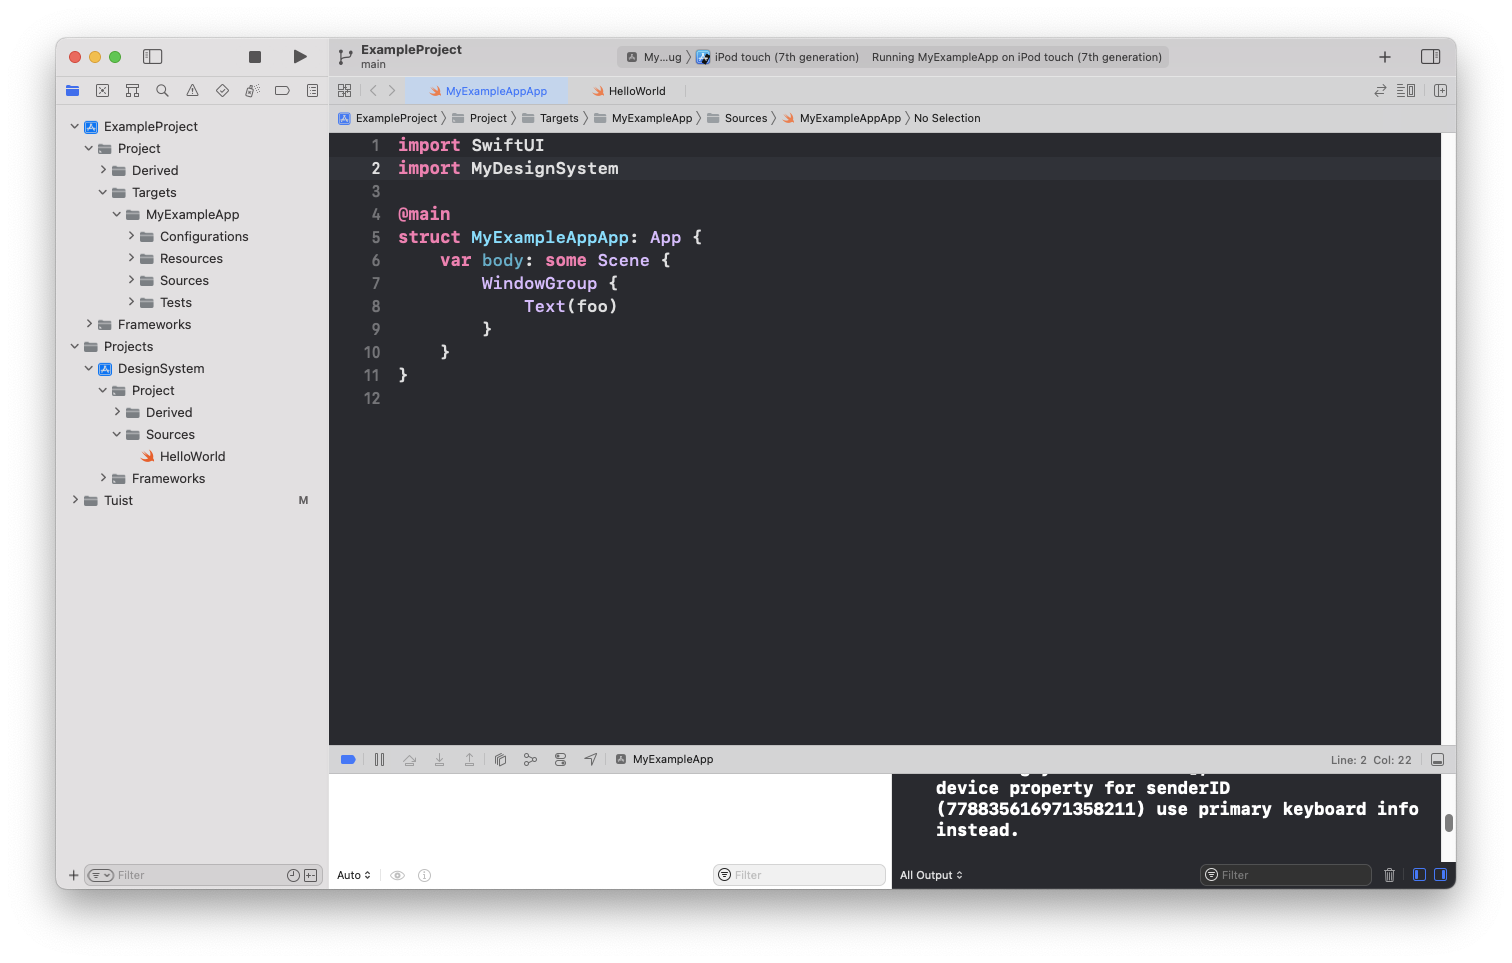
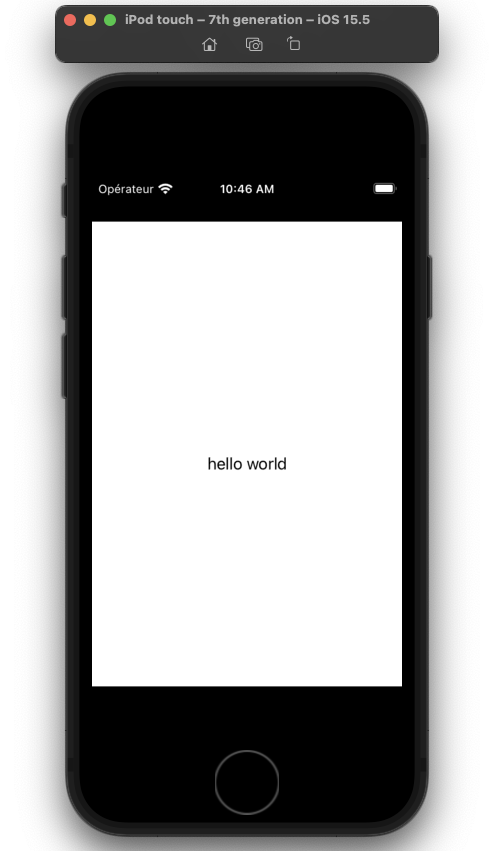
Finally, we should be done for the first step. You can run `tuist generate` and it will generate automatically your app. In Xcode edit your SwiftUI file to use content from your design system :
++pre>++code class="language-swift">// ExampleProject/Project/Targets/MyExampleApp/Sources/MyExampleApp.swift in Xcode
import SwiftUI
import MyDesignSystem
@main
struct MyExampleAppApp: App {
var body: some Scene {
WindowGroup {
Text(foo)
}
}
}++/pre>++/code>
If you run the MyExampleApp scheme, you should be able to build your application correctly 🎉
This is great, we have just created with a few line of codes, multiple targets, an app one using a design system one, and it compile properly.
However at this point, you should face a new issue while trying to run the app.
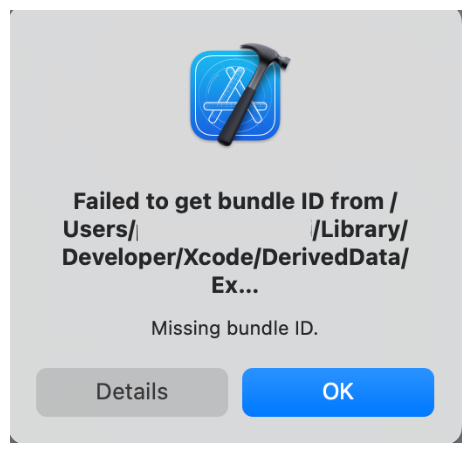
This is normal, it is because we haven’t set some necessary config values like the bundleIDs (per environment) of our app
Because we are working on a real-case scenario, most likely you will want to have different environment for your app : One for debug while developing, one for staging/preproduction for publishing your app on a test platform like AppCenter and finally a production one for publishing your app on the store. This is super important to take this into account as soon as possible and thanks to Tuist we can manage easily our different environments.
First, we are going to create different schemes per environment, then we are going to tell every target, which settings to use, and finally register the schemes globally
++pre>++code class="language-swift">// Manifest/Project.swift
let debugConfiguration: Configuration = .debug(
name: "Debug",
// Add your xcconfig here per environment which will for instance contain your different bundleIds, etc
xcconfig: .relativeToRoot("Targets/MyExampleApp/Configurations/Dev/MyExampleApp.xcconfig")
)
let stagingConfiguration: Configuration = .release(
name: "Staging",
xcconfig: .relativeToRoot("Targets/MyExampleApp/Configurations/Staging/MyExampleApp.xcconfig")
)
let releaseConfiguration: Configuration = .release(
name: "Release",
xcconfig: .relativeToRoot("Targets/MyExampleApp/Configurations/Release/MyExampleApp.xcconfig")
)
// MARK: Create schemes
let debugScheme = Scheme(
name: "MyExampleApp-Debug",
shared: true,
buildAction: .buildAction(targets: [TargetReference(stringLiteral: "MyExampleApp")]),
testAction: .testPlans([], configuration: .configuration("Debug")),
runAction: .runAction(configuration: .configuration("Debug")),
archiveAction: .archiveAction(configuration: .configuration("Debug")),
profileAction: .profileAction(configuration: .configuration("Debug")),
analyzeAction: .analyzeAction(configuration: .configuration("Debug"))
)
let stagingScheme = Scheme(
name: "MyExampleApp-Staging",
shared: true,
buildAction: BuildAction(targets: [TargetReference(stringLiteral: "MyExampleApp")]),
testAction: .testPlans([], configuration: .configuration("Release")),
runAction: .runAction(configuration: .configuration("Release")),
archiveAction: .archiveAction(configuration: .configuration("Staging")),
profileAction: .profileAction(configuration: .configuration("Staging")),
analyzeAction: .analyzeAction(configuration: .configuration("Staging"))
)
let prodScheme = Scheme(
name: "MyExampleApp-Release",
shared: true,
buildAction: BuildAction(targets: [TargetReference(stringLiteral: "MyExampleApp")]),
testAction: .testPlans([], configuration: .configuration("Release")),
runAction: .runAction(configuration: .configuration("Release")),
archiveAction: .archiveAction(configuration: .configuration("Release")),
profileAction: .profileAction(configuration: .configuration("Release")),
analyzeAction: .analyzeAction(configuration: .configuration("Release"))
)
let settings: Settings =
.settings(base: [:],
configurations:
[
debugConfiguration,
stagingConfiguration,
releaseConfiguration,
])
let project = Project(
name: "ExampleProject",
organizationName: "MyOrg",
settings: settings,
targets: [
Target(
name: "MyExampleApp",
platform: .iOS,
product: .app,
bundleId: "$(PRODUCT_BUNDLE_IDENTIFIER)",
deploymentTarget: .iOS(targetVersion: "15.0", devices: .iphone),
infoPlist: InfoPlist.dictionary([
"CFBundleName": "$(APP_NAME)",
"CFBundleVersion": "1",
"CFBundleShortVersionString": "0.0.1",
"CFBundleIdentifier": "$(PRODUCT_BUNDLE_IDENTIFIER)",
"CFBundleExecutable": "$(EXECUTABLE_NAME)",
"CFBundlePackageType": "$(PRODUCT_BUNDLE_PACKAGE_TYPE)",
]),
sources: ["Targets/MyExampleApp/Sources/**"],
resources: ["Targets/MyExampleApp/Resources/**"],
dependencies: [
.project(
target: "MyDesignSystem",
path: .relativeToManifest("Projects/MyDesignSystem")
),
.external(name: "Alamofire"),
],
settings: .settings(base: [:], configurations: [
debugConfiguration,
stagingConfiguration,
releaseConfiguration,
// if you use fastlane, it is recommanded to add this extra line about the CODE_SIGN_IDENTITY
], defaultSettings: .recommended(excluding: ["CODE_SIGN_IDENTITY"]))
),
Target(
name: "MyExampleAppUnitTests",
platform: .iOS,
product: .unitTests,
bundleId: "com.myexampleapp.unittests",
infoPlist: .default,
// To uncomment later on
sources: ["Targets/MyExampleApp/Tests/**"],
dependencies: [.target(name: "MyExampleApp")]
),
],
schemes: [
debugScheme,
stagingScheme,
prodScheme,
]
)
++/pre>++/code>
++pre>++code class="language-swift">// Manifest/Projects/MyDesignSystem/Project.swift
import ProjectDescription
import ProjectDescriptionHelpers
let project = Project(
name: "DesignSystem",
organizationName: "MyOrg",
options: Project
.Options
.options(),
settings: Settings.settings(
configurations: [
.debug(name: "Debug"),
.release(name: "Staging"),
.release(name: "Release"),
]
),
targets: [Target(
name: "MyDesignSystem",
platform: .iOS,
product: .framework,
bundleId: "com.mydesignsystem",
deploymentTarget: .iOS(targetVersion: "15.0", devices: [.iphone]),
sources: .paths(["Sources/**"]),
// unlock this line once you want to add custom resources like colors, images, etc.
// Don't forget to create the Resources folder to make it work!
// resources: ["Resources/**"],
dependencies: []
)]
)++/pre>++/code>
++pre>++code class="language-swift">// Tuist/Dependencies.swift
let dependencies = Dependencies(
/*carthage: [
.github(path: "Alamofire/Alamofire", requirement: .exact("5.0.4")),
],*/
swiftPackageManager: SwiftPackageManagerDependencies([
.remote(url: "https://github.com/Alamofire/Alamofire.git", requirement: .exact("5.6.1")),
// INSERT your settings here
], baseSettings: Settings.settings(
configurations: [
.debug(name: "Debug"),
.release(name: "Staging"),
.release(name: "Release"),
]
)),
// END INSERTION
platforms: [.iOS]
)++/pre>++/code>
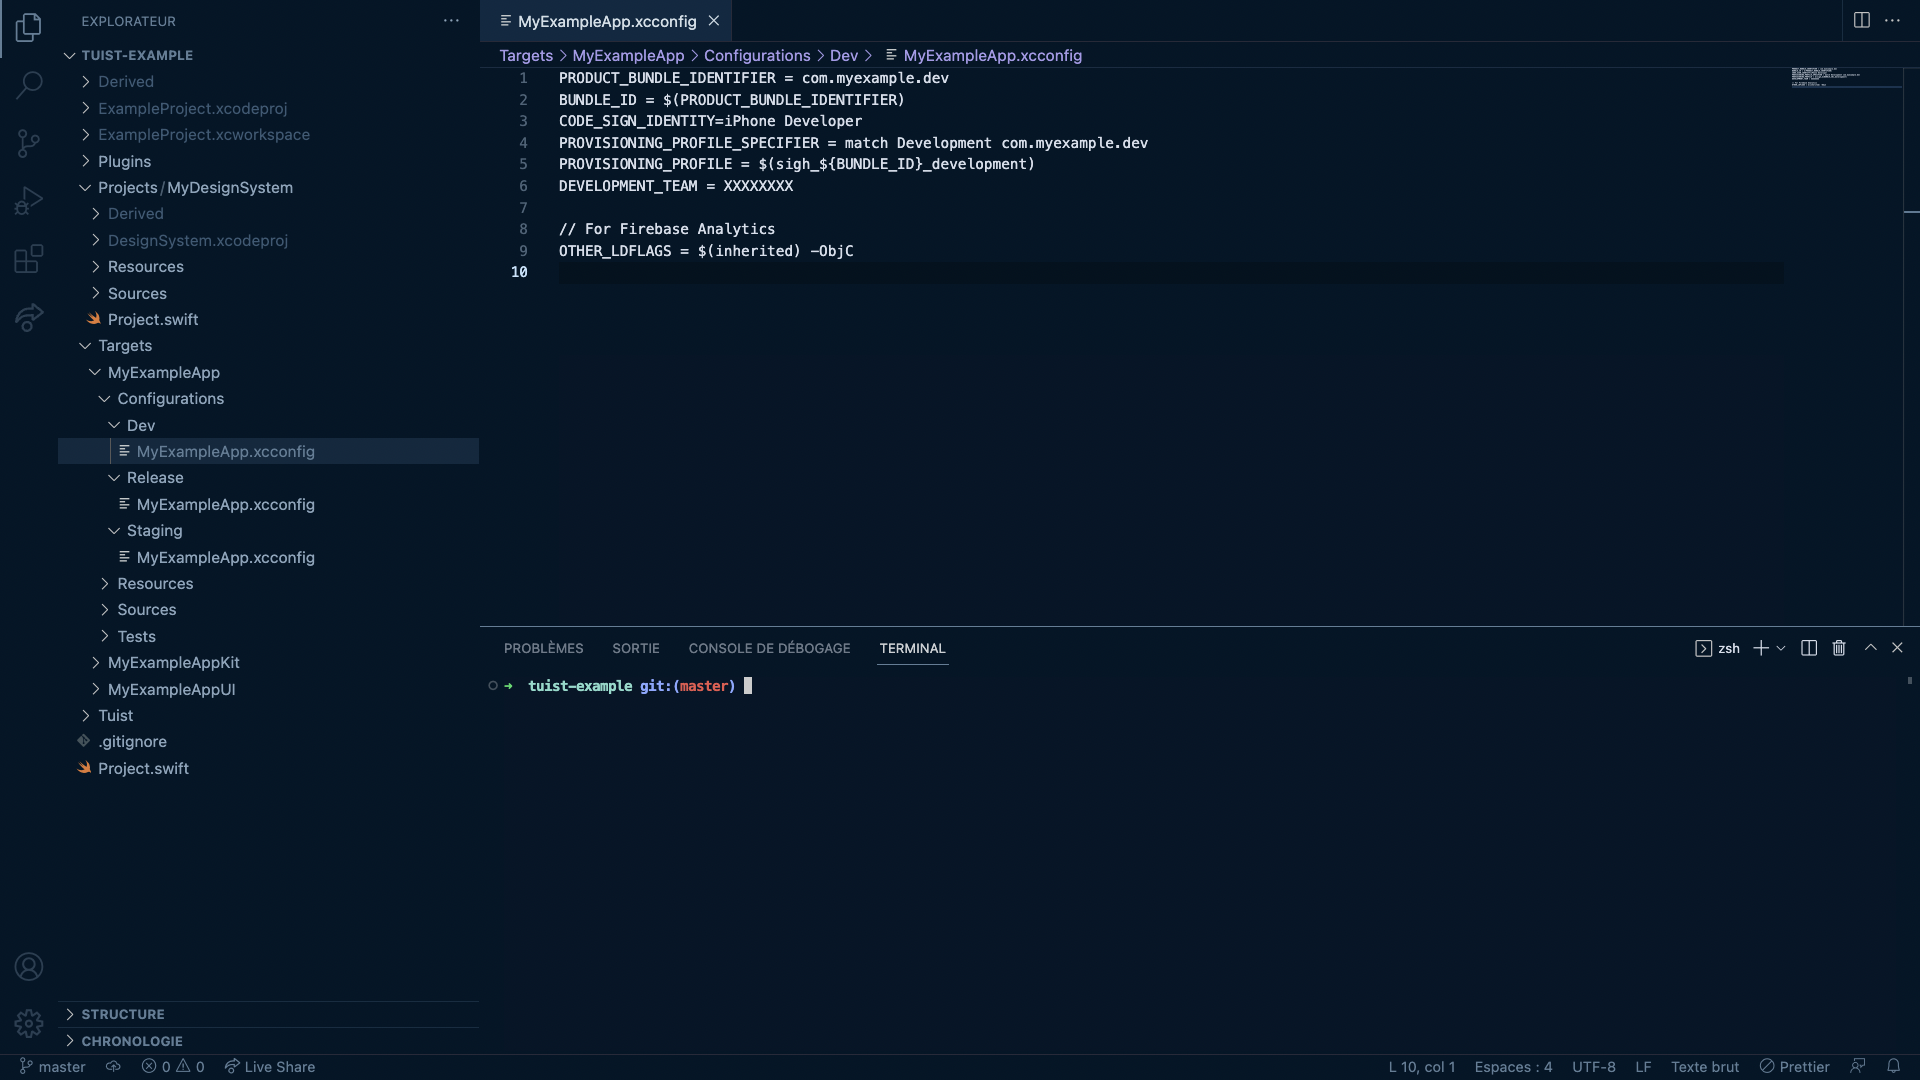
The only remaining part missing is adding a different .xcconfig file at the path indicated in the configuration we have just set for supporting different settings per configuration. For instance for dev this can be something like this (change with your values)
++pre>++code class="language-swift">PRODUCT_BUNDLE_IDENTIFIER = com.myexample.dev
BUNDLE_ID = $(PRODUCT_BUNDLE_IDENTIFIER)
CODE_SIGN_IDENTITY=iPhone Developer
PROVISIONING_PROFILE_SPECIFIER = match Development com.myexample.dev
PROVISIONING_PROFILE = $(sigh_${BUNDLE_ID}_development)
DEVELOPMENT_TEAM = XXXXXXXX
// For Firebase Analytics
OTHER_LDFLAGS = $(inherited) -ObjC ++/pre>++/code>
Please note the way we are mapping configurations, although Debug and Release looks pretty straightforward, we are telling Xcode that our Staging configuration is a “release” like configuration because this is going to be shipped not for debugging purpose but for our end users in a distribution mode.
Now the last remaining thing, we can run our application! Run tuist generate, compile the application with the MyExampleApp-Scheme, and voilà!
Today, we have learnt how to set a project with tuist with custom internal libraries (Design system), some external dependencies, and different environments. You can find the github repository here as an example.
In this article, we are going to develop an app together from scratch with tuist. In particular, we are going to focus on a real case scenario where you need your code to be in different modules so that you create reusable libraries for instance. In particular, we are going to have an app which where we will have a Design System Library that we want to build as a reusable library and also some dependencies installed with SPM.


Le BAM Innovation Lab, pour rester à la pointe des dernières innovations tech et produit !


